I went on a fruit and vegetable frenzy the other day. I’ve been craving grapes, apples, oranges, and was completely out of onions, peppers, green onions, potatoes, and mushrooms. We had pretty much used up everything in our fridge because we were going on vacation for 10 days. So, when we got back the refrigerator was bare.
Also, we spent a week at my sister and brother-in-law’s in South Florida, and there was so much food; mostly holiday treats, like my sister’s yummy carrot cake with cream cheese frosting, pumpkin cheesecake, rum cake, plus my chocolate chip cookies with candy cane kisses. I know there was more, but I’m still full just thinking about it and we’ve been back for over a week. Anyway, I digress.
So, while craving some fresh fruit and veggies, I went grocery shopping. They say never to shop when you are hungry, but I had sugar plums, apples, oranges, and grapes, dancing in my head. So, I went overboard.
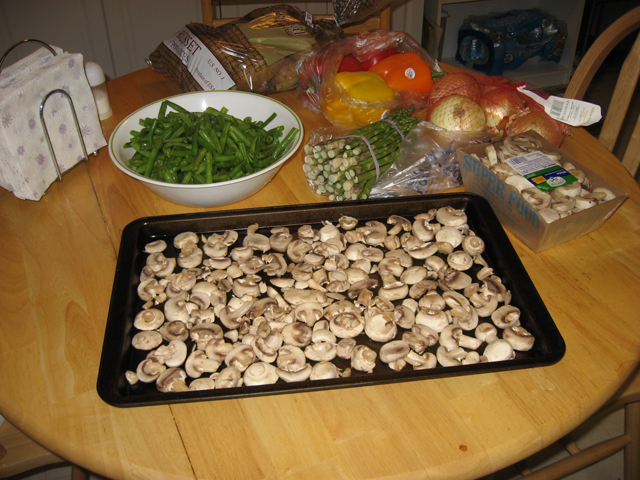
I’m not one to shop every few days; I do my main grocery shopping once every two weeks, and I stock up on items that are on sale. This time, everything seemed to be on sale, so I bought 3 pounds of red grapes, 5 bananas, 3 pounds of apples, 3 pounds of clementine oranges, 1 pound of baby carrots, 1 bunch of celery, 10 pounds of russet potatoes, 3 pounds of onions, 2 bunches of green onions, 1 large bunch of asparagus, 1 small cabbage, 2 heads of lettuce (because they were small), and 2 large tomatoes. I also bought frozen broccoli and spinach. I think I forgot something, but I’m sure it will come to me. Oh, yeah, I had forgotten the green beans, but my husband picked up 3 pounds of fresh green beans when he was at the grocer, yesterday.
We don’t grow our own vegetables, so the alternative would be to get our fresh fruits and vegetables from our local farmer’s market during the season. At least it would be more cost effective than buying from the local grocery store. Come Spring, that’s what I’ll do. Right now, I don’t have to worry about preparing a whole lot of vegetables at a time, but even the small amount that I do buy from my grocer needs to be prepared for freezer storage.
So far, I’ve only managed to eat one banana, some grapes and last night we had fresh green beans and mashed potatoes. So, as I look at all these fruits and vegetables in my fridge, I realize that I have to do something to keep them well preserved. I try to plan my menu for the next couple of weeks, but I know I’ll need to prepare and freeze most of it.
For example, last night we had boneless pork chops simmered in gravy, mashed potatoes and fresh green beans. My son prefers spinach, so we had that, too.
Tonight, we’ll grill steaks, with baked potatoes, roasted asparagus and sauteed mushrooms.
One day this week, I’ll make a pot roast, using some of the potatoes, carrots, onions, and celery.
At some point we’ll have sausage, peppers and onions one night, a whole baked chicken, meat loaf, spaghetti, and baked fish.
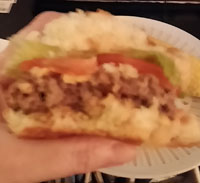
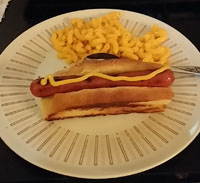
Another night we’ll have sloppy joe’s with homemade cole slaw, and let’s not forget hot dogs with mac & cheese, and pizza on the nights when I need a break from cooking big meals :).
I know all of my veggies won’t stay fresh, so I need to start blanching, steaming and raw tray freezing.
I can’t keep mushrooms fresh for more than 3 or 4 days, and I can’t keep 10 pounds of potatoes fresh for more than 7 to 10 days, so I’ll freeze some of those, as well as the peppers and onions. I like crispy celery, but I can still freeze some that I will use for cooking. Okay, here are some of the methods that I have learned for freezing fruits and vegetables.
Freezing Fruits and Vegetables (Unblanched)
Starting with the easy ones first, I can flash freeze fresh strawberries, mushrooms, onions and peppers. These don’t have to be blanched, and since they won’t be stuck together, you can grab what you want from the container.
Vegetables
Green beans – I used to blanch my green beans, but they would come out mushy when I cooked them. After doing some research, I found that there are many gardeners who don’t blanch their green beans. So, I decided to freeze my green beans without blanching. Besides, I’m not freezing them for more than a few months at a time. Since I bought them from the grocer, rather than growing them myself, I washed them first. I then drained and let them drip dry. I snapped off the string ends and cut them in half. If you like them french sliced, do that before freezing. Freezing will change the texture of the beans and they may not cut as easily when thawed. Since I have never done this before, I will have to come back later and report the results (crossing fingers).
Mushrooms – Clean mushrooms by brushing off dirt, do not wash. If they get wet, dry before freezing. They can be frozen whole or sliced. Spread in a single layer on lightly greased cookie sheet. Freeze until frozen, then store in food saver or freezer bags, or airtight container. They will not stick together, so you can just grab what you need.
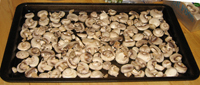
You can also sautee mushrooms in butter before freezing. After cooking, bring to room temperature, then freeze in portion sized containers.
Onions – These are for cooking, only. They will be soft and mushy, so won’t be so great on a hamburger unless you like grilled onions…yum! Cut off ends and peel onions. You can freeze in wedges, halves or chopped. Place chopped onions in freezer bags and flatten so they are in one layer. After they are frozen, you can stack the bags. This way, you can just break off the amount you need. Otherwise, tray freeze in a single layer and then place in bags. You can then grab whatever you need. You can also chop them while they are still partially frozen.
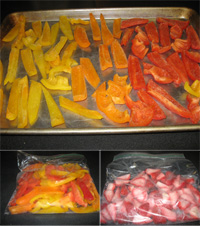
Peppers – I always buy red, yellow and orange peppers. My hubby doesn’t like green peppers. Clean and remove stems and seeds. Slice in halves, quarters, or slices. They can also be frozen whole. lay them out on a lightly greased cookie sheet and freeze for at least 30 minutes, or until frozen. Then, place in freezer or food saver bags.
Fruit and Cheese
Apples – I found a couple of soft spots on my apples, so I have to hurry up and preserve the rest of them before they spoil the whole bunch. I’m the only one in this family who eats apples, so I must freeze them.
There are a few methods that can be used for freezing apples.
Method #1 – Salt Water:
This is really the simplest way to prepare apples for freezing. The salt water prevents them from turning brown. The apples can later be used for frying, muffins, cakes and pies. If you’re not worried about your apples turning brown, just core, peel, slice and freeze.
You’ll Need:
8-10 C cold water
1/4 C warm water
1 tsp salt
You’ll need a bowl or pot large enough to hold 8 to 10 cups of water, as well as a batch of apple slices. First, pour 1/4 cup of warm water and 1 tsp of salt and stir until it is dissolved. Add the remaining cold water and stir.

Rinse apples in cold water. Peel, core and slice apples. I use my nifty Oxo Good Grips Apple Corer/Slicer after I’ve peeled them, but you might consider buying one of these – Back to Basics Apple and Potato Peeler. It cores and peels the apple at the same time! I love this thing. I used it at my sister’s over the holidays to peel potatoes and it was great!
Drop the apple slices into the salt water. Make sure they are submerged and let sit for a few minutes. Drain in a colander. I tray freeze in a single layer when there’s not too many. Then, place in freezer bags, removing as much air as possible (I use the straw method since I don’t have a vacuum sealer). One tip that I picked up, place wax or parchment paper on cookie sheet. Then, when the slices are frozen, roll up and pour into freezer bags or airtight containers. These can be used in muffins, cakes, pies and for frying. They won’t have a salty taste.
These froze nicely and did not turn brown. They make a great snack while still frozen, but will be soft when thawed. I made applesauce with the thawed apples, and it was fantastic! Since they were already soft it didn’t take long.
Making homemade applesauce is so easy when using frozen apples. I will never buy canned/jarred applesauce again. Here is the recipe I used for chunky applesauce:
4 sweet apples, peeled, cored, sliced and previously frozen
2 tbsp brown sugar
1 tsp vanilla
1/2 tsp cinnamon
Since the thawed apples were moist I didn’t add any extra liquid, but if you use more apples you could add a small amount of apple juice or water. I used gala apples, so they were sweet enough and probably didn’t require any additional sugar, but I love the added taste of brown sugar.
Let frozen apples thaw, reserve liquid. Place apples in pot and heat through until soft and mushy. You can mash with potato masher if necessary, or puree in blender or food processor if you like creamy applesauce. I prefer chunky and it didn’t require mashing; I just broke it up with a spoon while stirring. Add vanilla and cinnamon, stir. Serve warm or cold. I prefer it cold.
Some say it’s good to freeze in a sugar/water syrup, or prepare using your favorite apple pie recipe and freeze.
Basic Apple Pie Filling:
3/4 C sugar
1 1/2 tsp cinnamon
2 T flour
1 T lemon juice
6 c apples (cored, peeled and sliced
Combine sugar, cinnamon and flour. Use immediately or freeze for up to six months.
Method #2 – Lemon Juice:
Mix 1 tablespoon of lemon juice per gallon of cold water. Dip the apple slices, then lay them on a lightly greased cookie sheet (or lined with parchment paper) for at least an hour, until frozen. Then just put them into freezer bags or food saver bags.
Method #3 – Ascorbic Acid:
Instead of lemon juice, you can brush the apples with a mixture of 1/2 tsp (1500 mg) ascorbic acid and 3 Tbsp (45 ml) water.
Blueberries – No preparation needed. Just spread blueberries in a single layer on lightly greased cookie sheet and freeze for 30 minutes. Then, place in freezer bags or airtight container. I use the same container they came in and place in freezer.
Strawberries – Rinse and cut or pull off stems. There’s a nifty gadget for strawberries that I keep meaning to try, it’s called
a Strawberry Huller or Strawberry Stem Remover. Slice strawberries in 2 or 4 wedges each. Spread out on a lightly greased cookie sheet, flat side up, so they are not touching. Freeze for at least 30 minutes, or until frozen. Then, place in storage bags. I love strawberries in cereal, yogurt, or with ice cream and strawberry short cake. Yum!
Shredded Cheese – I buy shredded cheese in bulk, and separate into smaller containers or freezer bags. Add a tsp of flour to each small bag so it doesn’t stick together. It comes out perfectly! Block cheese tends to crumble when thawed.
Blanching Vegetables
Asparagus – Rinse in clean water and cut or snap off woody ends. Bring large pot of water to a boil. Meanwhile, prepare large bowl of ice water. With heat on high, immerse asparagus into boiling water, and bring quickly back to a boil. Don’t blanch too many stalks at a time. Boil 2 to 4 minutes (2 for thin, 3 for medium, 4 for fat stalks). Using a slotted spoon, quickly transfer asparagus to the ice water bath. You want to stop the cooking process as quickly as possible in order to preserve the texture of the asparagus. When they are cold, pat dry on paper towels. You can freeze separately in single layer on lightly greased cookie sheet until frozen, approx. 30 minutes to an hour. Place in food saver or freezer bags, or airtight containers. Place in freezer
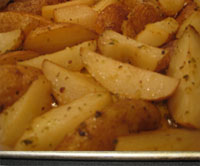
Roasting Asparagus:
Update: I roasted frozen asparagus and even though it was softer, it was still good. I prefer to roast it until it is brown and crispy. Lay asparagus spears out on sheet pan, drizzle with olive oil and lots of salt, roll around in oil until completely covered. Roast at 400 to 425 for 10-15 minutes, or to desired doneness depending on thickness of spears.
Potatoes – Wash and peel potatoes, then cut large potatoes in half. It is best to freeze whole or in halves. Bring a large pot of water to a boil. Meanwhile, prepare a large bowl of ice water and set aside. Plunge potatoes into boiling water and blanch for 3 to 5 minutes. This will cleanse and preserve color and flavor. With a slotted spoon, transfer potatoes to ice water bath. Allow to cool for 10 minutes. Drain and pat dry. Place potatoes in food saver or freezer bags, or airtight container. Make sure potatoes are dry or ice will form. Place enough potatoes for a meal in each bag. If you don’t have a vacuum sealer, insert straw in freezer bag and close almost all the way. Draw air from bag, remove straw and close. Store in freezer, they will keep for up to a year. These potatoes can be used for boiling, mashing, roasting, or making potato salad.
Well, I’ll be adding more to this post, so please bookmark this page and check for updates periodically.
If anyone does their own gardening or has any tips regarding preparing, freezing and storing fruits and vegetables, I would love to hear from you. Please comment below, and I would appreciate it if you would like and share this page.
 Not the one from my childhood, but still brings back happy memories
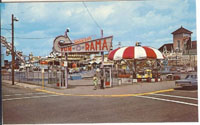 Salisbury Beach Fun-A-Rama
 The Scrambler Ride
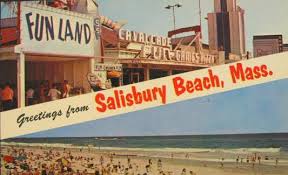 Salisbury Beach Funland
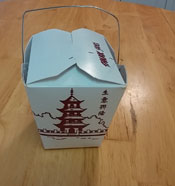 Chinese Take-Out Box with Handle
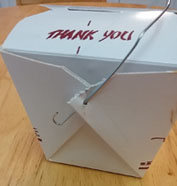 Opening a Chinese Take-out Box
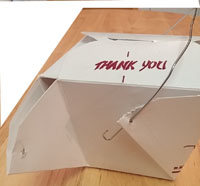 Unhook handle from the box flaps
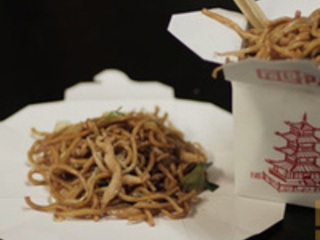 Voila! Instant microwavable plate!
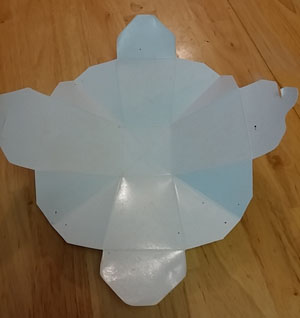
 I took my recipe for
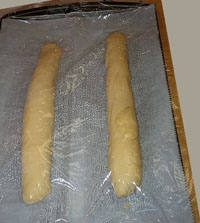
 Lots of mayo – Yum!
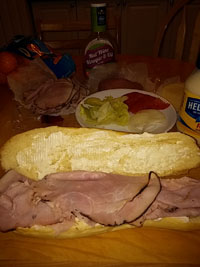 Black Forest Ham
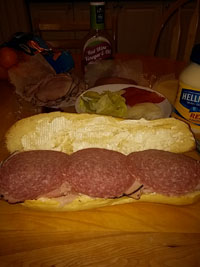 Genoa Salami
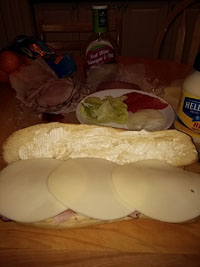 Provolone Cheese
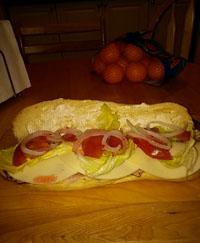 The Works
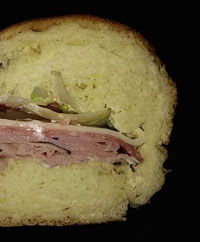 I could barely eat half!
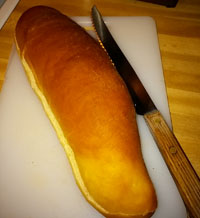
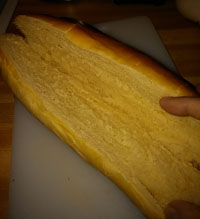
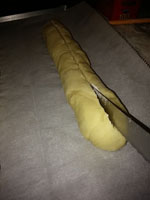 Make 1/8″ slit down center of sub roll
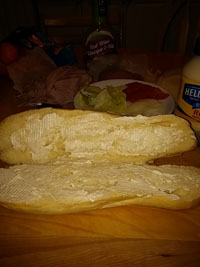
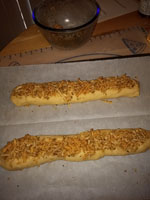 Fill center with herbs and cheese mixture, spread over top
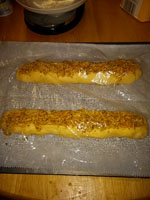 Cover with plastic wrap and let rise for one hour
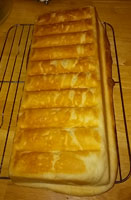
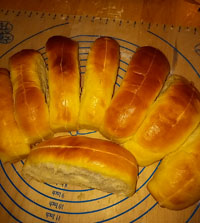
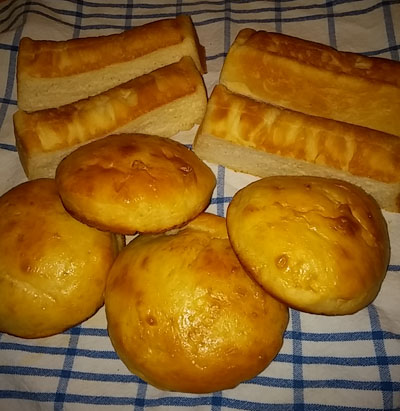
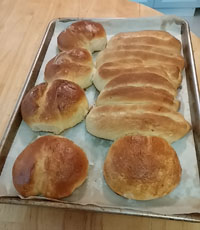
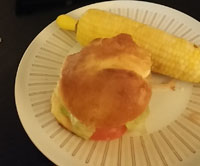
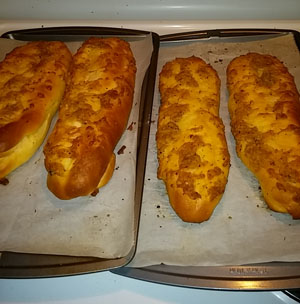 Baked Italian Herbs and Cheese Sub Rolls
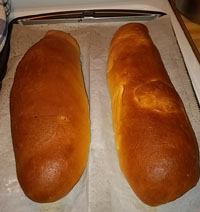
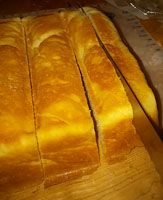
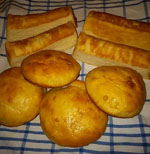 I can’t tell you how delicious these buns are. You are just going to have to trust me and try them yourself. They came out just as I hoped. Light, fluffy, and sweet. The texture is perfect and won’t fall apart. This recipe makes a nice loaf of bread and dinner rolls, too.
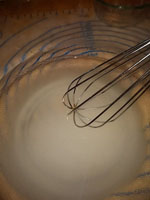 Dissolve sugar in warm water
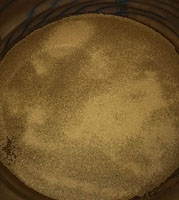 Add yeast and stir
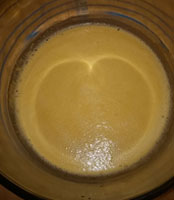 Let sit until foamy, 10 to 15 minutes
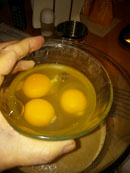 Add eggs
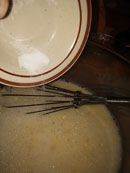 Add salt
 Add milk
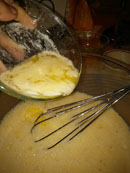 Add melted butter
 Stir all liquid ingredients
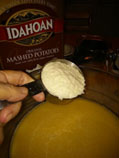 Add potato flour or flakes
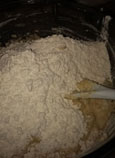 Add flour one cup at a time
 Mix well and form into a ball
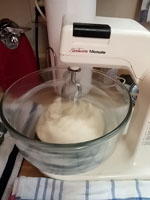
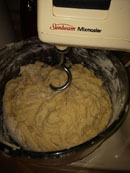 Using dough hooks, knead for 5 minutes
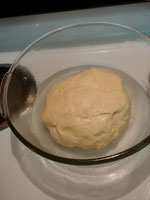
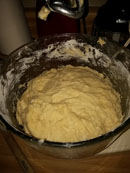 Kneaded dough
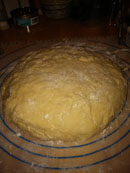 Transfer kneaded dough to flour surface
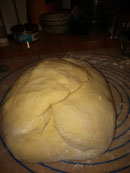 Knead a few times, fold and form into a ball
 Clean bowl, spray or drizzle with oil
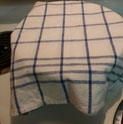 Place dough in bowl and turn to oil all sides
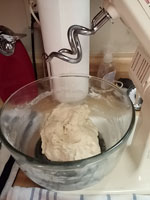
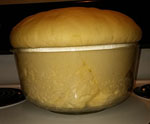 Set in a warm place and let sit 1 to 2 hours, until doubled.
 Punch down dough
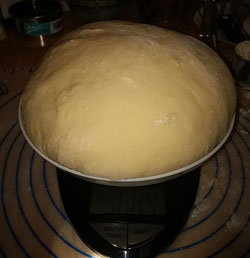 Weighing the dough
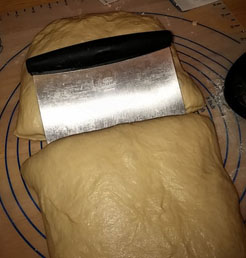 Dividing the dough
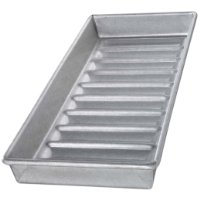 New England Style Hot Dog Pan
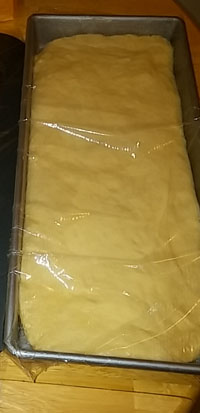
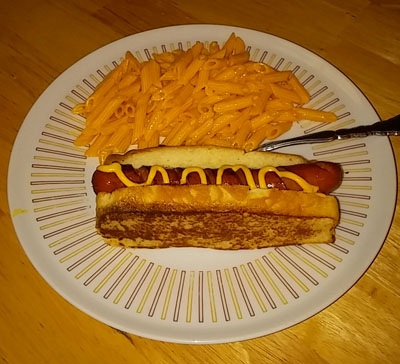 Grilled New England Style Hot Dog
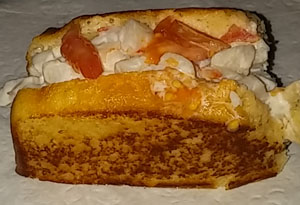
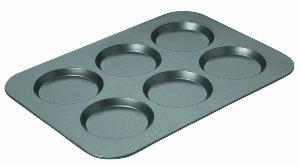 Muffin Top Pan
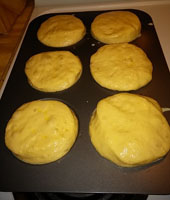


 I love potatoes! Doesn’t everyone? There are so many different ways to cook potatoes. My youngest loves mashed potatoes, especially when I make them with the “mashed potato machine”, which is my stand mixer. They come out so smooth and creamy…Yum!


 This is the best beef stew that I have ever had…EVER! The red wine was the “key ingredient”. It made the soupy broth so delicious, I could have just eaten the broth with bread and butter….Yum!